Essential Guide to Changing Boat Trailer Bearings: A Comprehensive Journey
Introduction: The Pivotal Role of Bearings in Trailer Functionality
Boat trailers bear the immense responsibility of transporting your precious watercraft safely and effortlessly. At the heart of this seamless operation lie bearings, playing a critical role in facilitating smooth motion and reducing friction. Regular maintenance of these bearings is paramount to ensure optimal trailer performance and mitigate potential safety hazards. This comprehensive guide will empower you with the knowledge and expertise to confidently tackle the task of changing boat trailer bearings.
Why Change Bearings? The Telltale Signs of Deterioration
The lifespan of boat trailer bearings hinges on several factors, including usage frequency, exposure to elements, and proper maintenance. However, inevitable wear and tear are bound to occur over time, manifesting in telltale signs that demand attention.
-
Unusual Noises: Grating, grinding, or squealing sounds emanating from the bearings indicate friction, a precursor to premature failure.
-
Excessive Play: Loose or wobbly wheels are symptomatic of worn bearings that can compromise stability and safety.
-
Scorching Hot: Bearings that run excessively hot to the touch are a glaring sign of imminent failure and require immediate attention.
-
Rust or Corrosion: Exposure to water and salt can accelerate corrosion, damaging bearings and leading to reduced lifespan.
Essential Tools and Materials: Arming Yourself for the Task
Before embarking on the bearing replacement journey, it is crucial to gather the necessary tools and materials to ensure a smooth and efficient process.
Tools:

- Jack and jack stands
- Wheel chocks
- Lug wrench
- Socket wrench
- Screwdriver
- Needle-nose pliers
- Bearing packer
- Grease gun
- New bearings and races
Materials:
- Marine-grade grease
- Rags or paper towels
- Solvent (e.g., brake cleaner)
- Anti-seize compound
Step-by-Step Guide: A Detailed Walkthrough of Bearing Replacement
-
Safety First: Park the trailer on a level surface, engage the parking brake, and chock the wheels.
-
Raise the Trailer: Position the jack beneath the axle and raise the trailer until the wheel is 6-8 inches off the ground. Support the trailer with jack stands for added stability.
-
Remove the Wheel: Loosen the lug nuts and remove the wheel.
-
Unpack the Hub: Remove the hub cap and cotter pin. Insert two screwdrivers into the hub's access holes and gently pry off the hub.
-
Extract Old Bearings: Carefully remove the old bearings from the hub and spindle. Use solvent to clean any residual grease or debris.
-
Inspect Races: Thoroughly examine the bearing races for signs of wear or damage. If necessary, replace them.
-
Install New Bearings: Pack the new bearings with marine-grade grease using a bearing packer. Press the bearings into the hub and onto the spindle.
-
Install Hub: Apply a thin layer of anti-seize compound to the inside of the hub. Position the hub on the spindle and tap it gently into place.
-
Secure the Hub: Insert the cotter pin through the hub and spindle holes and spread its legs to secure the hub.
-
Install Wheel: Reattach the wheel and tighten the lug nuts by hand. Use a torque wrench to tighten the lug nuts to the specified torque.
-
Lower the Trailer: Slowly lower the trailer and remove the jack stands.
Troubleshooting Common Pitfalls: Addressing Potential Challenges
-
Bearing Seizure: If the bearings are seized, apply penetrating oil and allow it to sit for several hours. Use a mallet to gently tap the hub to free the bearings.
-
Stubborn Cotter Pin: If the cotter pin is difficult to remove, use needle-nose pliers to extract it.
-
Misaligned Bearing Races: Ensure the bearing races are correctly aligned before installing the bearings. Misalignment can lead to premature bearing failure.
Maintenance Best Practices: Prolonging Bearing Longevity
-
Lubricate Regularly: Repack the bearings with marine-grade grease every 10-12 months or as per the manufacturer's recommendations.
-
Rinse with Fresh Water: Rinse the trailer, including the bearings, with fresh water after every use to remove salt and debris.
-
Check for Play: Periodically check the bearings for excessive play or looseness. Tighten as necessary.
-
Store Properly: Store the trailer in a dry and protected area when not in use.
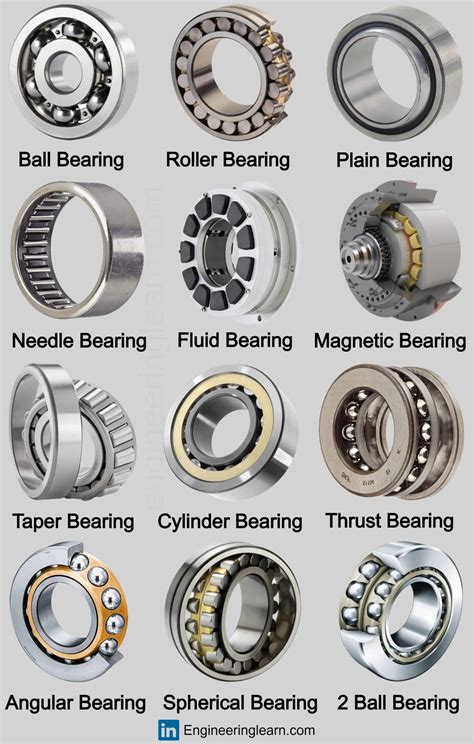
Bearing Types: Navigating the Options
Single-Row Radial Bearings: These bearings are commonly used in boat trailer applications, providing radial load support. They are simple to install and replace.

Double-Row Radial Bearings: Double-row bearings offer increased load capacity compared to single-row bearings. They are often preferred for heavier trailers.
Tapered Roller Bearings: These bearings can handle both radial and axial loads. They are more durable and long-lasting, but also more complex to install.
Selecting the Right Bearings: Matching Specifications
Selecting the correct bearings is crucial for optimal trailer performance. Consider the following factors:
-
Trailer Weight: The weight of the trailer determines the load capacity required for the bearings.
-
Wheel Size: The wheel size dictates the inner diameter of the bearings.
-
Spindle Size: The spindle diameter determines the outer diameter of the bearings.
Alternative Methods: Exploring Other Options
Bearing Buddies: Bearing buddies are external grease fittings that allow for easy lubrication without disassembling the hub. They are convenient but may not provide as thorough lubrication as repacking.
Sealed Bearings: Sealed bearings are pre-lubricated and do not require repacking. However, they are more expensive and may not last as long as regularly serviced bearings.
Pros and Cons: Weighing the Options
| Method |
Pros |
Cons |
| Repacking Bearings |
Thorough lubrication |
Labor-intensive |
| Bearing Buddies |
Convenient lubrication |
May not provide thorough lubrication |
| Sealed Bearings |
No maintenance required |
Expensive |
Frequently Asked Questions: Clarifying Common Queries
-
How often should I repack boat trailer bearings?
Repack the bearings every 10-12 months or as per the manufacturer's recommendations.
-
What type of grease should I use for boat trailer bearings?
Use marine-grade, waterproof grease specifically designed for trailer bearings.
-
How can I tell if my boat trailer bearings are bad?
Listen for unusual noises, check for excessive play in the wheels, and inspect for signs of heat or corrosion.
-
Can I replace just one boat trailer bearing?
It is recommended to replace both bearings on a wheel, even if only one is damaged.
-
How do I prevent water from getting into boat trailer bearings?
Rinse the trailer with fresh water after every use and store it in a dry and protected area.
-
Can I use grease gun to repack boat trailer bearings?
Yes, but it is recommended to use a bearing packer for more thorough lubrication.
Call to Action: Empower Yourself with Practical Knowledge
Changing boat trailer bearings is a crucial maintenance task that ensures the smooth and safe operation of your trailer. By following the step-by-step guide, troubleshooting tips, and best practices outlined in this comprehensive article, you will be well-equipped to tackle this task with confidence. Remember to prioritize safety, use the right tools and materials, and invest in high-quality bearings. With regular maintenance and attention to detail, you can extend the lifespan of your boat trailer and enjoy countless worry-free boating adventures.
